Standart Operation Procedures
NEW BUILT CUSTOM HOME PAINTING
•Initial Painting
-Woodwork and Ceiling painting
-Walls painting
-Clean up
•Touch Ups
Welcome to Paint Lions S.O.P(Standart Operation Procedures) page. We are very excited to have you on board! Let's build Paint Lions together! The goal is to make this organization systemized, working like a well-oiled machine and a pleasant place to work. That's why we created this SOP. You must read every section carefully and understand your role in it. Doesn't matter what experience you have, or where you worked before, every company has its procedures for painting houses and we want every individual have understanding of Paint Lions system. If you have any questions, it is best to ask someone, like your lead painter or a colleague who has worked at Paint Lions longer than you. This will prevent costly mistakes. Every Paint Lion read this SOP and knows the system so make sure you're on the same page as others. In every job you will have a lead painter, who will assign you to your daily tasks.
You as the painter will be also responsible for monitoring some materials like tape, plastic, and sandpaper and if it's missing you have to inform the lead painter. Please monitor the paint while painting, don't wait till it ends, and tell the lead painter that you are low on paint and you will need more.
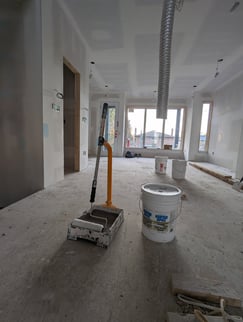
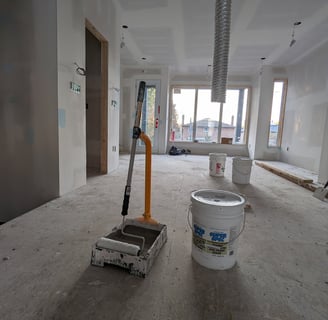
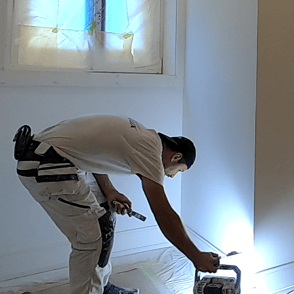
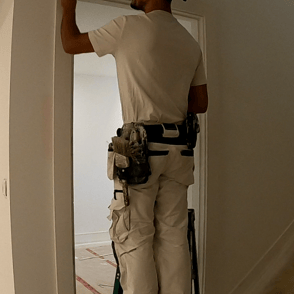
We provide you with sundries like sandpaper, drywall compound, putty, caulking, tapes, plastic sheets, floor protection papers, rollers, mini rollers, linear and of course paint. You have to make sure you have in your vehicle your own trays, roller cages, caulking gun, putty knives, utility knives and blades, multi-tool, drop sheets, brushes, duster, poles, pole sander, spring punch, step ladder and safety protections like safety shoes, masks, and gloves. Also, we prefer you to have a small tool pouch on your belt so you have tools handy like a multitool, utility knife, spring punch, and duster. Wear a white T-shirt is a must. We always making videos and pictures for marketing purposes and imagine you wearing a black T-shirt with light paint on it and slippers. You got the point! If you having trouble buying tools or workwear let the lead painter know about it.
NEW CUSTOM HOME PAINTING
DRYWALL PRIMING
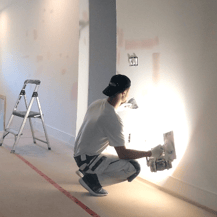
!SAFETY SHOES AND IF SPRAYING HALF FACEPIECE RESPIRATOR IS MUST TO HAVE!
Remember when priming, the faster you work, the sooner you can go home. You'll still get paid for the full day regardless.
If you have any questions ask the lead painter or guy who works longer than you, it's always better to ask than make mistakes!
Tools and Material
Linear, big tray and handle for it
A roller cage and microfiber roller(13mm-15mm)
Sprayer(if spraying)
Primer
1)Inspection
Before starting drywall priming inspect if drywall taping is finished and properly sanded. If not then contact the lead painter or tell the builder if on site. Also, it's safe to work and the heater is on.
2)Prime
There are two ways of doing primer:
Prime walls with rollers spray corners, spray ceiling, and backroll;(Two guys only)
If all pails of primer are full, fill the tray and start rolling the walls, after couple trays, find water and fill for about 5 fingers, close the lid, and shake it very well. Continue with walls. When 30min till completion spray-painter can start prep his sprayer and start spray corners of walls. When wall rolling is finished spray painter can start spray ceilings and other guy backrolls(!very important to backroll completely every inch of the sprayed surface otherwise ceiling will be rough!)
Prime only with rollers;
Start by rolling the ceiling throughout the house(!do not mix with water!). When finished ceiling take an empty bucket and fill the pail with water for about 5 fingers and mix it with a full pail of primer. Roll wall one coat. When rolling don't roll into a corner, leave about 1-2 inches from the corner unprimed.
3)Clean-up
Gather all empty pails and dispose of them in the garbage bin if there is one on-site. If there is no garbage bin, stack the pails together in one place. If there is any leftover primer, please leave it in a corner and throw used rollers inside. If there is no leftover primer, dispose of the used rollers by throwing them into an empty bucket.
If you are last on-site make sure to turn off lights and lock the doors.
INITIAL PAINTING
!SAFETY SHOES AND HALF FACEPIECE RESPIRATOR IS MUST TO HAVE!
If you have any questions ask the lead painter or guy who works longer than you, it's always better to ask than make mistakes!
If some materials like tape or sandpaper is missing you have to tell the lead painter. Please monitor the paint while painting, don't wait till it end, tell lead painter that you are low on paint.
4)Sanding
-Tools&Materials necessary: square sanding sponge(medium grid), orbital sander(150-240 sanpaper), mask.
Sand all patches with sand sponges, if casings are flat it can be sanded with an orbital sander. All flat surfaces on panels must be sanded with an orbital sander. Drywall patches can be sanded by hand or with an orbital sander paired with the vacuum.
Doors must be sanded with an orbital sander(150 grid or finer sandpaper)
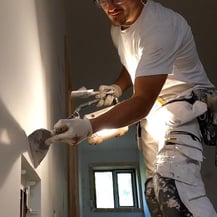
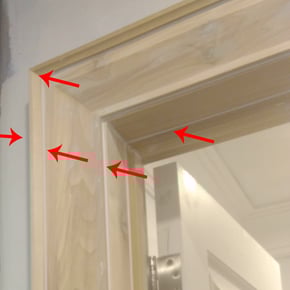
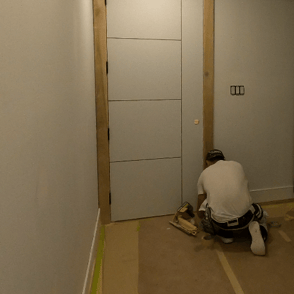
3)Doors, casings, baseboards, and MDF panels filling nail holes, repairing dents and other damages;
-Tools&Materials necessary: putty knives 1.5"&3"-6", spring punch, square or orbital sander&100or120 sandpaper, drywall compound or spackle;
If casings are white MDF compound or spackle must be tinted.
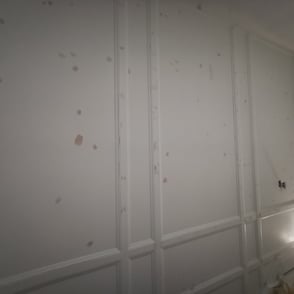
First, with an orbital sander or square electric sander, casing 45 cuts must be sanded throughout the floor or ideally whole house. After the sand has been smooth, feel it by hand. Then start filling nail holes with a compound of about 1/16" thickness to avoid shrinkage. Note excessive compound leftover in corners will be hard to sand and will look poorly after the finish coat. 45 cuts have to be patched thick layer. If you see nails sticking out use spring punch to punch it in. At the same time, while filling nail holes, you have to patch dents and damages, also if you see drywall damage you have to patch it with at least a thin coat.
For MDF panels first use an orbital sander to sand nail holes. During nailing it creates an uneven surface. Then patch about 1/16" thickness drywall compound or spackle.
The preparation of surfaces is the most important step in the process of painting. Remember you are a painter-finisher, you are responsible for patching drywall dents, cut-outs, and cracks, fixing dented baseboards, filling caulking correctly on trim joints, sanding every inch of the door etc. Failing to do proper preparation procedures will result in a poor-quality finish. Read carefully all procedures and if you have any questions ask the lead painter or the guy who works longer at Paint Lions
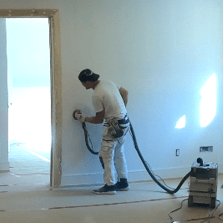
1)Drywall sanding;
-Tools&Materials necessary: pole, sander, and sandpaper 100-120;
Sand walls only unless you see a rough place on the ceiling. Use a pole sander and 100-120 sandpaper.
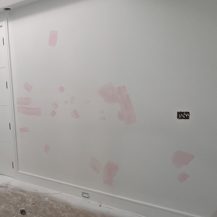
2)Drywall check-out;
-Tools&Materials necessary: battery light, drywall compound, tint, putty knives 5"or6&bigger size knife"
First mix drywall compound with tint. Do not use untinted white drywall compound on white walls or ceilings. Take light inspection and patch walls. While inspecting the walls of each room, check the ceiling without light if it needs some repairs.
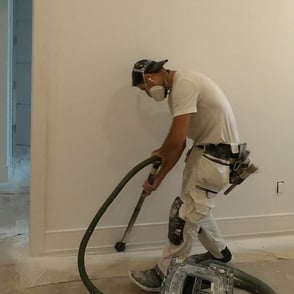
5)Vacuum
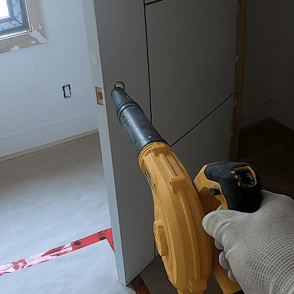
-Tools&Materials necessary: vacuum with brush attachment, blower, duster, mask;
Using an air blower, blow casings, doors, panels, and walls. Then vacuum the edge of casings, baseboards, windows, doors, panels, and floor about feet wide from baseboards, doors, and panels.
PREPARATION
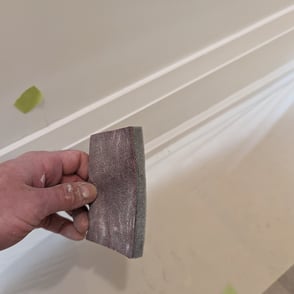
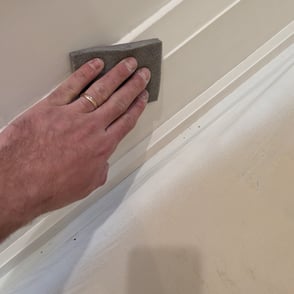
6)Caulking
-Tools&Materials necessary: caulking, caulking gun(recommend yellow dripless caulking gun), cloths, gallon or bucket with water, and rubber gloves;
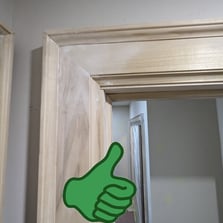
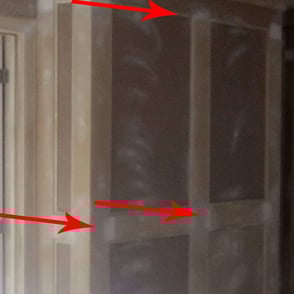
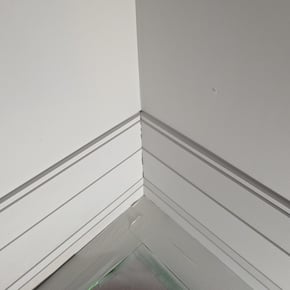
Examples where you do caulking
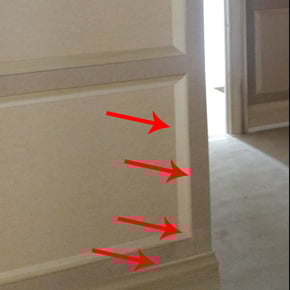
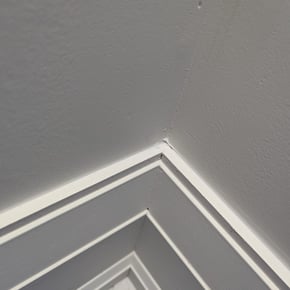
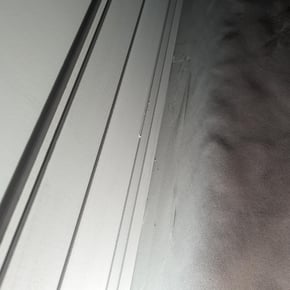
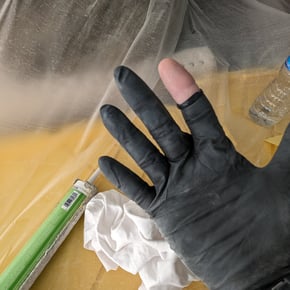
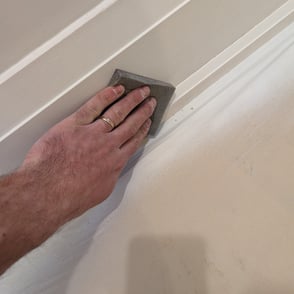
Cut caulking nose 45 degrees. Fill up bucked with water, wet cloth , and apply caulking on all joints(see examples below). While whipping caulking only a bare finger can be used(take a rubber glove, and peel off the glove from one finger, that way you will be more comfortable rather than all hands will be sticky). Caulking can't be done too thin or too thick(it might crack after). Clean excessive caulking, very important to clean corners.
If windows are white caulking window/jamb needs to be done if black then no caulking is needed.
If you're new, look how another guy, who works longer than you, does caulking, it's an easy task, just requires patients.
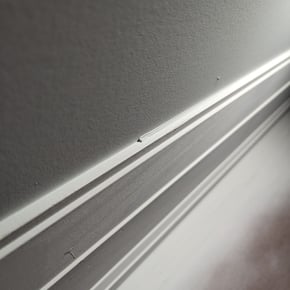
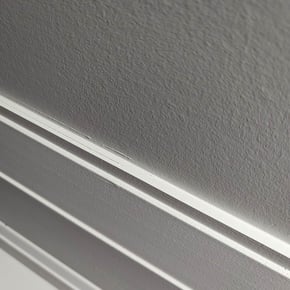

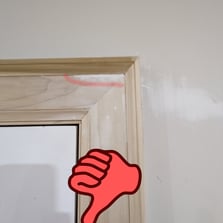
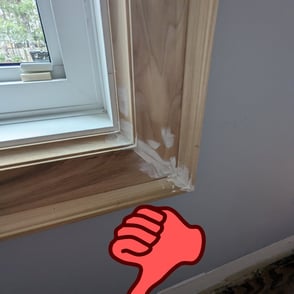
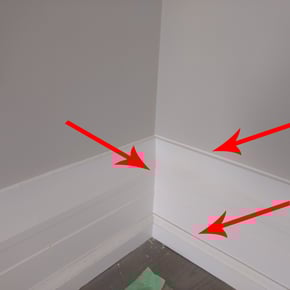
Bad caulking examples
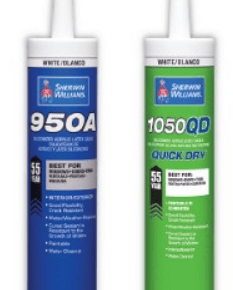
Before starting caulking make sure you understand which caulking material needs to be used in certain situations. Use Sherwin Williams 950A caulking only when you don't need to paint same day, if you paint same day only use Sherwin Williams 1050QD quick dry. If you use quick dry it can be spray-painted right away, or 1h before painting by rollers or brushes.
Failing to use other brand caulking or wrong caulking in certain situations will lead to paint cracks. See pictures
Before caulking around tiles, vanities in bathrooms, powder rooms other places it needs to be taped. Leave about 1/16"-1/8" when masking, then apply caulking. That way we prevent paint from bleeding under the tape and we have sharp lines after the tape is peeled off.
Note: make sure the drywall is fixed before you apply caulking.
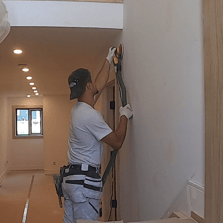
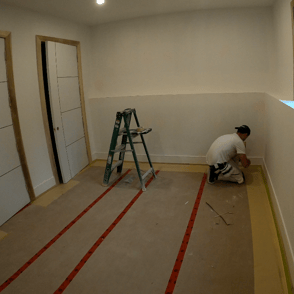
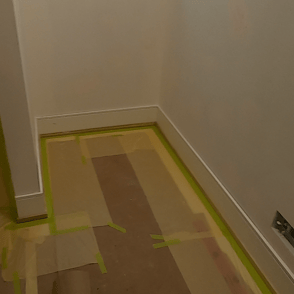
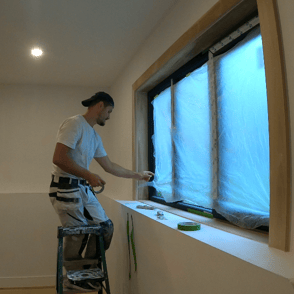
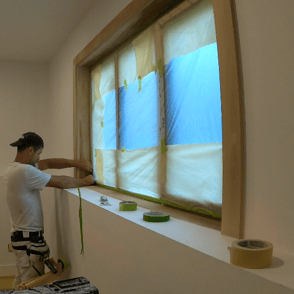
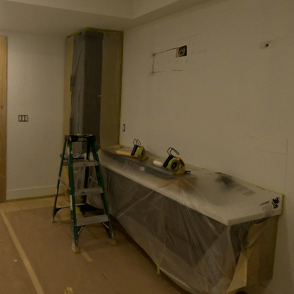
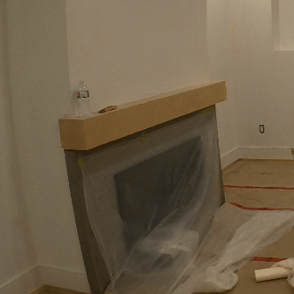
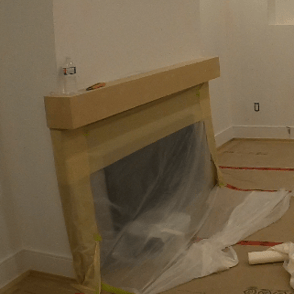
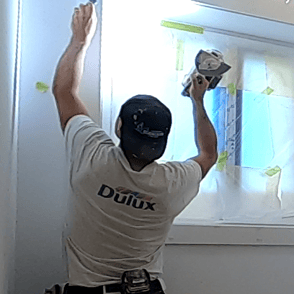
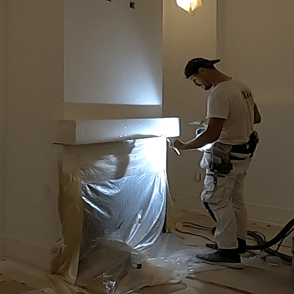
7)Masking and floor protection;
-Tools&Materials necessary: hand masker, tapes, plastic, flooring paper;
Floor masking. Use green tape. First cover with protective floor paper leaving a few inches from the baseboards. Then use 1"or 2" Scotch green tape and hand masker with yellow plastic to tape around it.
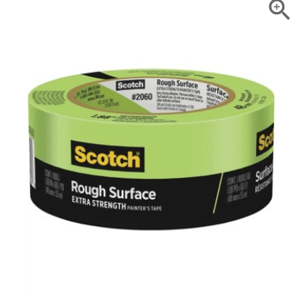
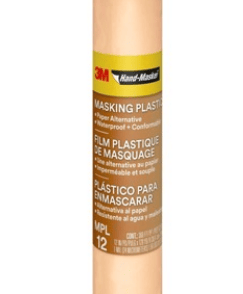

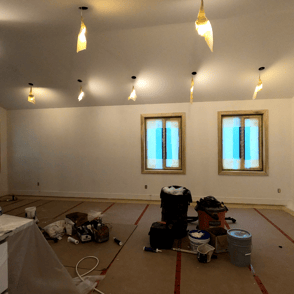
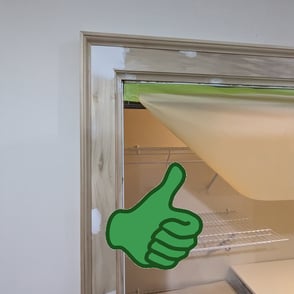
Windows masking. First cut regular plastic to cover bigger part of window then use hand masker with yellow plastic and 1" inch Scotch green tape.
Tiles, vanities and others masking. First use regular plastic to cover most of the material then hand masker with yellow plastic and Scotch 1" green tape
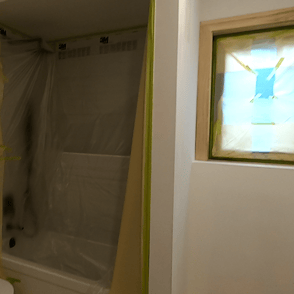
Hinges taping. Only white tape can be used on hinges.
There are always room for interpretation while protecting customers property but you got the point. Always discuss with colleagues if you have doubts, two heads is better than one.
Finish coat spray paint
Removing masking, cleaning up
Walls painting
Sand
Roll
Check out
Cut 2x
Roll
Clean-up
Lift floor protection
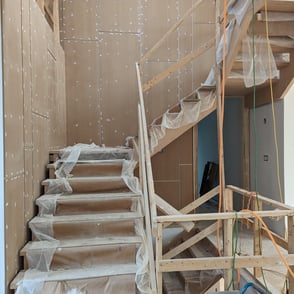
WOODWORK AND CEILING PAINTING

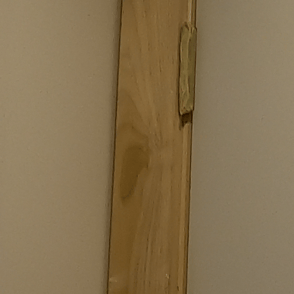
1)Priming woodwork(doors, casings, baseboards, panels etc);
-Tools&Materials necessary: sprayer, tips, primer for wood;
Before spraying make sure all surfaces are clean and everything is protected;
Please watch this video for when choosing sprayer tip;
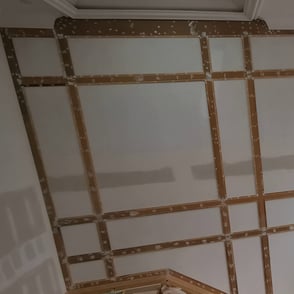
2)Ceiling painting;
-Tools&Materials necessary: sprayer, tips, trays, poles, roller, ceiling paint;
When the woodwork is drying after you primed it, it's usually a good time to start painting the ceiling. Depending on the situation choose which method will be used:
1)Spray ceiling corners and rolling;
This method usually requires two coats and it takes longer, which is why it's not preferred. It can be used in tight areas, or other trades are working in-house or other situations;
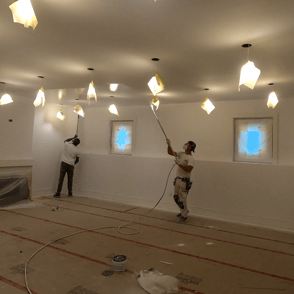
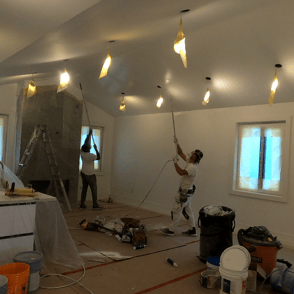
2)Spray the whole ceiling and backroll(2 persons needed);
This method typically requires one coat. It's perfect when the house is empty.
It's crucial to properly back-roll the ceiling in every situation to ensure an even look and prevent visible touch-up spots later on.
Both methods require that the rolling direction be towards the windows.
3)Woodwork sanding after primer;
-Tools&Materials necessary: soft sanding sponge(medium grid), putty, mask;
Using soft sponge sand all surfaces, check if surface is smooth, if notice major damage mark it with tape, small nailholes can be filled with putty;
Ideally doors and panels should be sanded with orbital sander.
4) Doors, trim, and panels checkout with light;
-Tools&Materials necessary: light, putty knives, tint, spackle;
After sanding the woodwork add tint(or if there's dark paint) to a spackle, then take light(ideally battery light) fix dents, cracks, damages, shrunk nail holes(up to a person's height), etc.
5) Sanding patches;
-Tools&Materials necessary: square sanding sponge(medium grid), orbital sander;
Once patches dry, with square sanding sponge sand it. Make sure not to rush this process, if you miss spots it will be visible after finish coat.

6) Vacuum
Ideally blow with air blower first and then vacuum the surface before applying the spray finish.
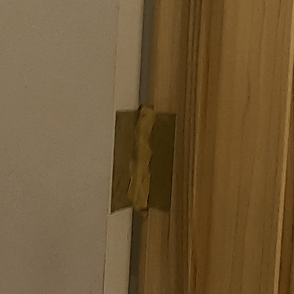
7)Re-tape hinges;
It's common for hinges to need re-taping during door opening and closing. Check the hinges and apply tape as needed to avoid overspray.
8)Finish coat spray paint;
Depends of contract, one or two coats will be applied. Light sand needed between coats